| MULTIMEDIA |
| AVIedit |
| AVIFrate |
| AVIDiag |
| Album3D |
| WEB TOOLS |
| Logalizer |
| Snowflake |
| Snowflake II |
| AM software |
| News |
| About us |
| Mirrors |
| Links |
 |
AVIedit | Album3D | Web tools | Forum | Links |
| Download | Logalizer | ||||
| Order | Snowflake | ||||
| Support |
|
Copyright 2000, 2009 Alexander Milukov, All rights reserved Creation of animated GIFs using AVIedit, or
I'm sure you like to chat online, or participate a bulletin board,
or just share your photos etc. Often you need to show your emotions
to others, or save a lot of words that describe your feelings and
so on. Many people are using such a "faces" |
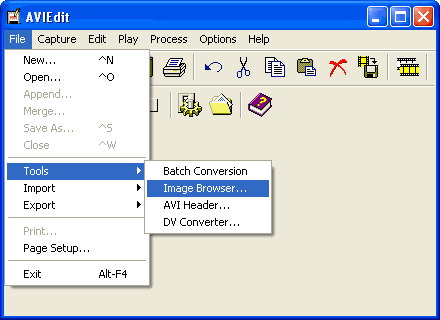
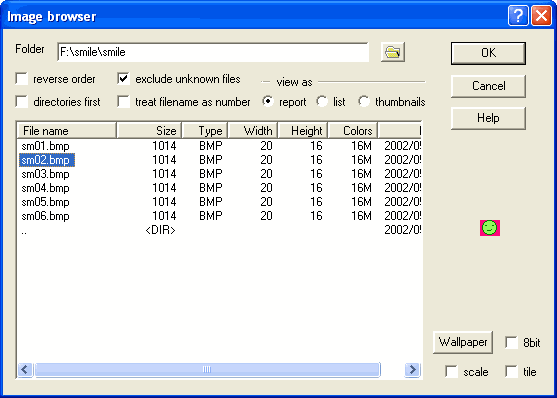
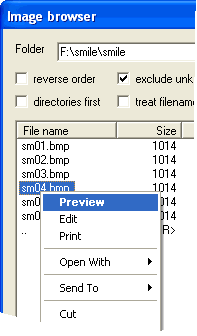 | By the way, AVIedit's built-in Image Browser lets you manage your image collections and galleries the same way you could perform it using Windows Explorer. In Image Browser you can invoke the same context menu commands that you would use in explorer, but - you see - here are much more sorting and filtering options available. |
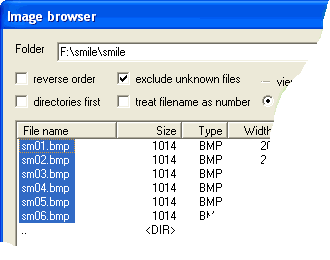 | Image Browser imports images, if you select more than one and click Ok. The same is possible with File|Import... menu items, but there you can import other file types, too. |
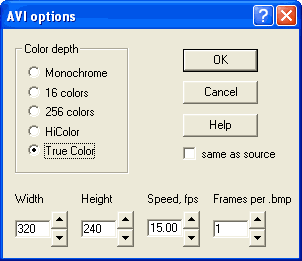 | In this dialog box you can change the animation speed, and have AVIedit produce more than one animation frames from each imported picture. In fact, all these changes can be made later, so you can simply click Ok. |
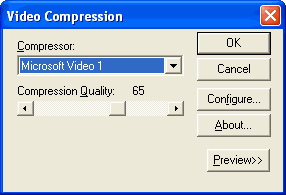 | This dialog box appears when you import and export animations and videos. Normally you would choose an appropriate video codec (compressor) and change its settings to best fit your needs. However, this time we do not need any compression, because the GIF file will use its own method. Select uncompressed in drop-down list. |
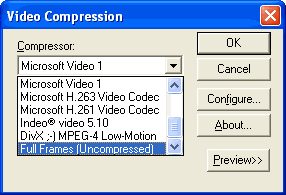 | By the way, Windows offers a very beggar set of outdated codecs. The MPEG4 codec you see here was installed by us. You may wish to read more about Windows XP multimedia related features. |
After you have selected uncompressed and clicked Ok, AVIedit works for some short time and finally loads a newly created movie for editing. By default the file name is outputBM.avi and it will look like this one.
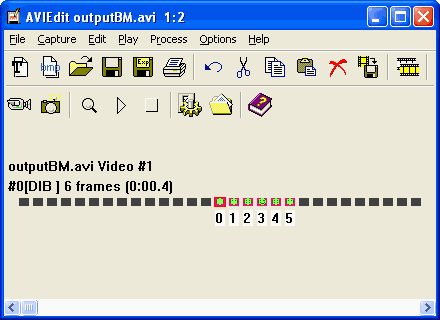
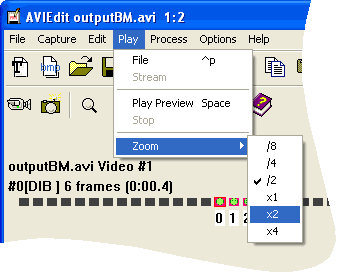 | Of course the pictures are too small for convenient work. Lets make them zoomed in. (Also you can zoom-in and zoom-out with Gray + and Gray - keys on a numeric keypad. |
It's much better now...
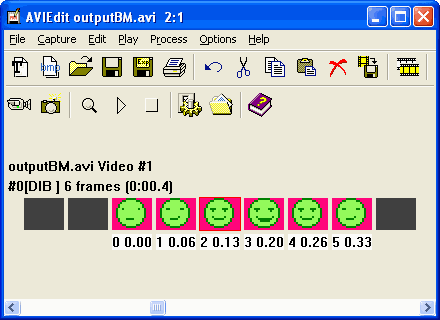
We are two steps away from ready-to-use smile GIF file.
We need
- select all the frames
- export frames to a GIF
There are a few ways to get frames selected. You can either
- click left mouse button above the filmstrip (where AVIedit shows the # of frames and movie duration as hh:mm.ss)
- click Edit|Select All menu item see screenshot
- hit S key to Select a range of frames by their starting and ending numbers see screenshot
- click left mouse button inside the first frame, then hold down SHIFT key and click inside the last desired frame
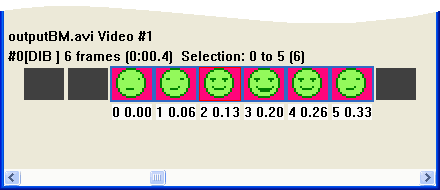
Now you see the word selection above the filmstrip, and the frames are outlined with dark blue. You can change the color of selection using Options|Preferences menu item, if need.
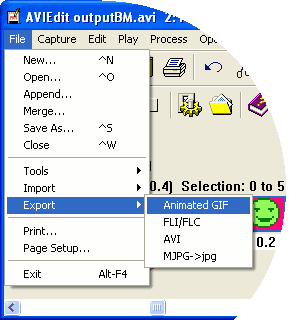 | AVIedit lets you export a movie into different formats. This time we need Animated GIF. Although it does not support sound and the picture is limited to 256 colors maximum, GIF files can be viewed by virtually any web browser and thousands of third party software. Unlike AVI files, that can be made even smaller in size than GIFs, you will not need any special codec for GIFs playback. |
Below is the GIF Options dialog box. For a very first time you can simply enter the same values as it is shown here; for a detailed description please click Help button :)
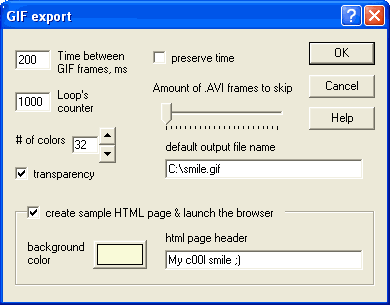
Finally, you see the resulting web page that AVIedit created for you, with the smile that we just made. You may ask, where is that hot red area around the face ? It's simply. When transparency option (see screenshot above) is on, then AVIedit looks for the color of leftmost top pixel of your animation frame(s) and treats it as transparent one. All image pixels of the same color will be invisible (hollow?). It's the way it works.
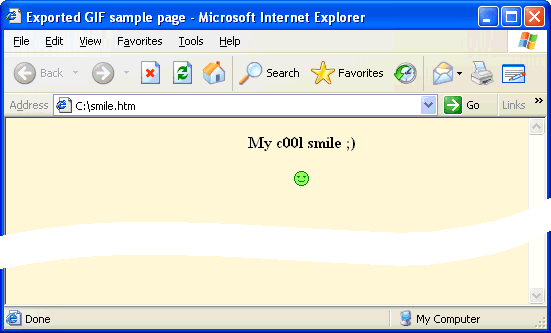
Ok folks, that's all. See you smiling

Copyright 2000, 2009 AM Software


